first i took big K with me to pick out scrapbook paper.
here's what she chose:


perfect! now get yourself some washers from a hardware/building supply store.
(i am lucky the big M works at a building center that i just tell him what to bring home!)
i chose two different sizes.
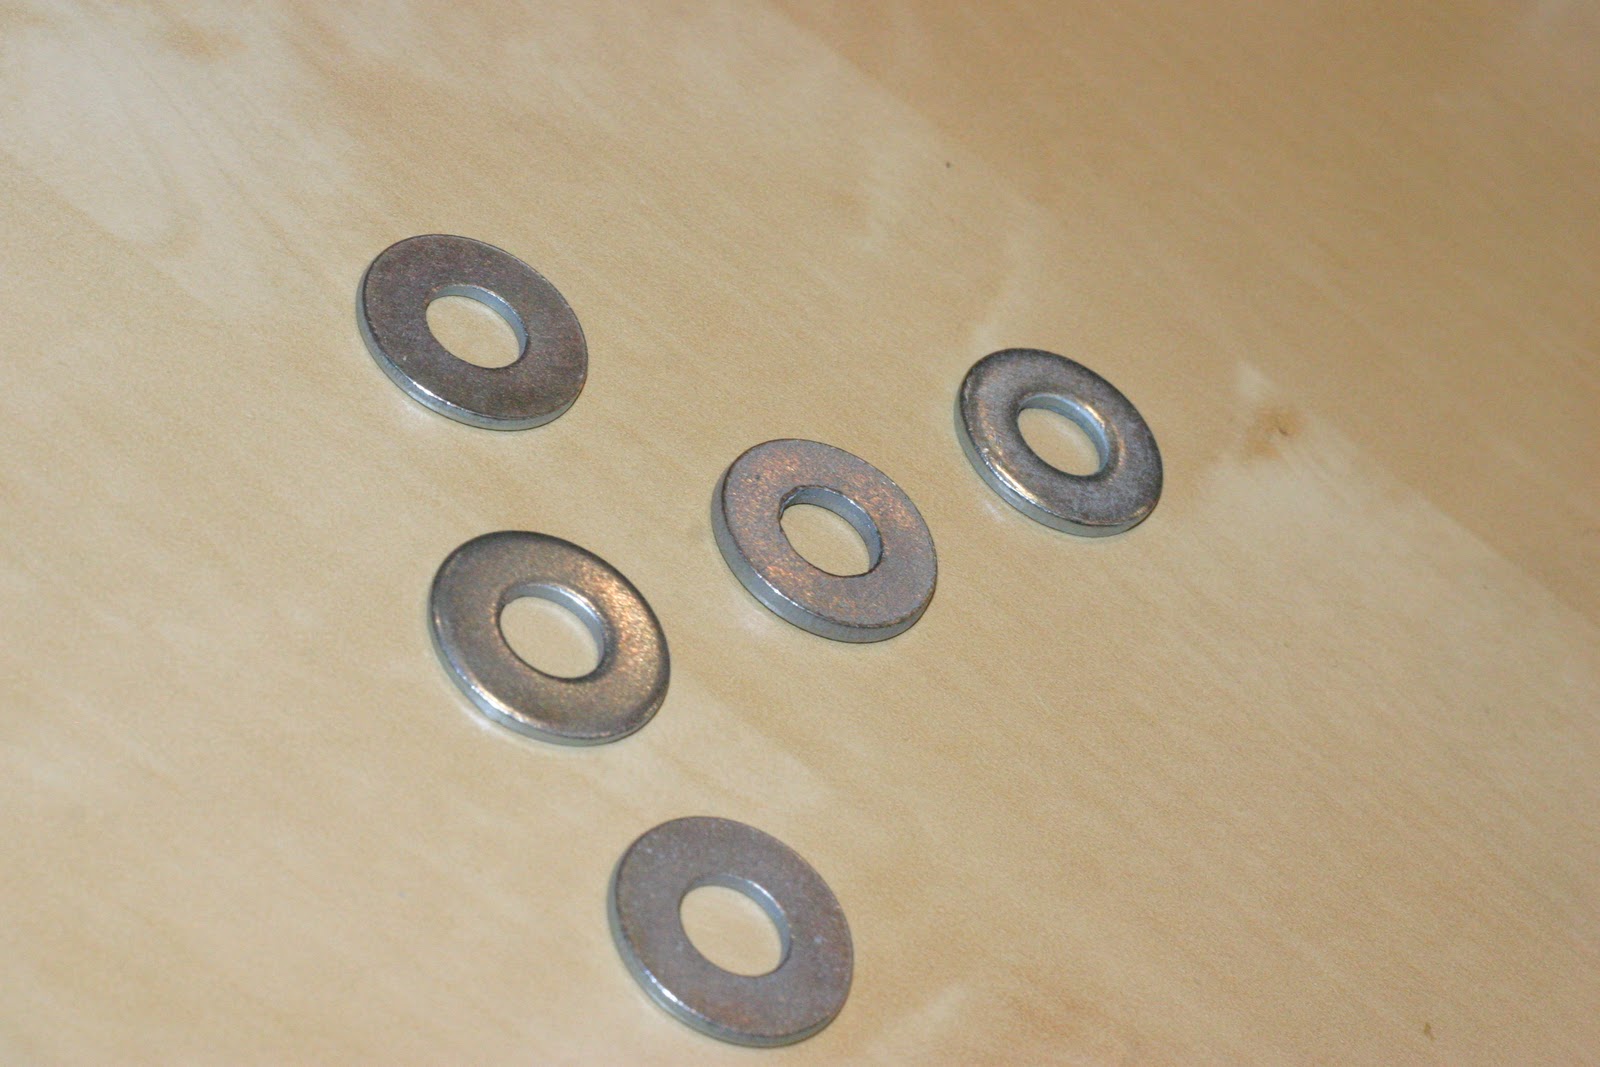


they will look like this afterward:

now do another coat of mod podge on top of the paper to seal it.
let them dry again for at least 20 minutes.
after it's all dry, cut the hole out of the washer with an exacto knife.
they should now look like this:
(silly me forgot to take a picture when they were all done!! these are just my two girls washers taken off the necklace after the party. oops!)

i chose suede because, if i'm being honest, it was the cheapest material i found at michael's that looked semi ok! ha ha!


mix 'em up... match 'em. whatever you please!
i even had adults comment on them.
hmmmm... always looking to make a couple bucks.
craft sale anyone?! ha ha!
7 comments:
these are darling. you had me at scrapbook paper--i've reams of the stuff and mod podge? i will mod podge anything and everything. it's a great invention.
don't you LOVE mod podge?! so fun!! and who can resist pretty scrapbook paper? i'm NOT a scrapper, but i just adore all the paper and have to buy when i see it!
i love these!
i gotta try this!
This is a super tutorial! I am inspired to go get mod podge now! The possibilities are endless. Thanks for sharing. I will feature/link to this in a future post so others can come visit.
Pearl
http://www.beadinggem.com
Hi:
From Puerto Rico, I love this tutorial. God bless you.
You are so creative! Sydney loved the one she got from Kaia's b-day party. She still wears it to school.
This is an awesome idea! I've covered CDs with paper that way for mini journals. A cool trick so that you don't actually have to cut out the circles (outside or inside) is to just glue a square on. Then when it is dry, you can sand around the edges to remove the excess paper. For the center you can just poke a hole through with a pencil to get it started and then use the sandpaper around a pencil, to sand the inside paper away. Way faster, easier and looks really smooth that way! You can also add resin for more durability if you want.
Post a Comment